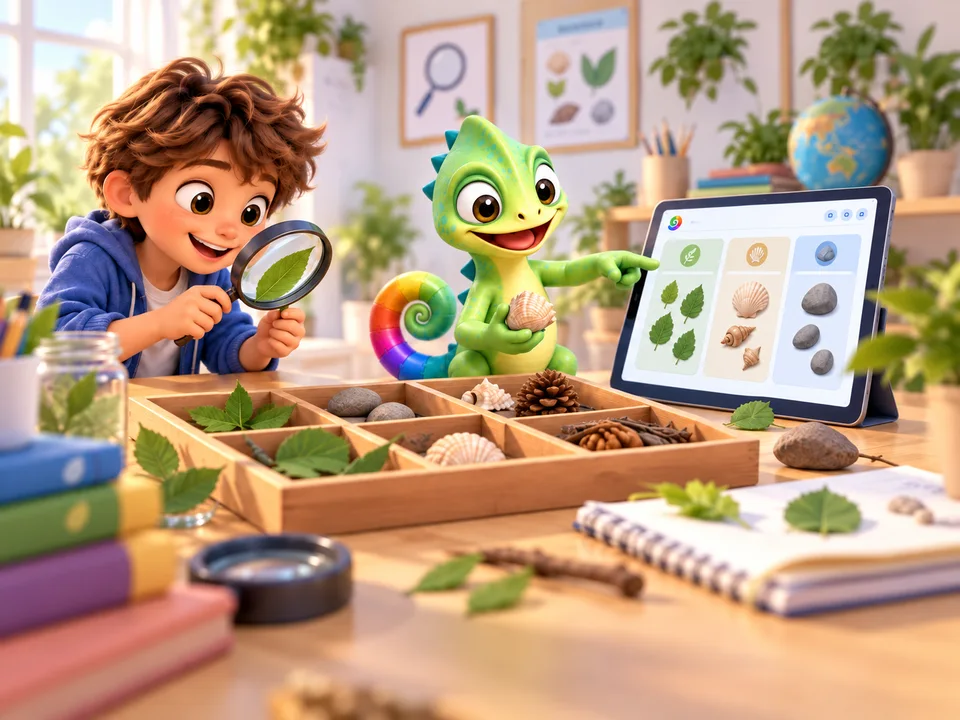
Science
Explore a question
Change one number in a drawing. Predict the result, try it out and explain what you see.
PLIRO / FOR TEACHERS & SCHOOLS
A few instructions make a square appear. Change a number and it becomes something else. With Pliro, pupils can try a prediction, see what happens and explain what they have learnt.
STEM · LEARN BY MAKING
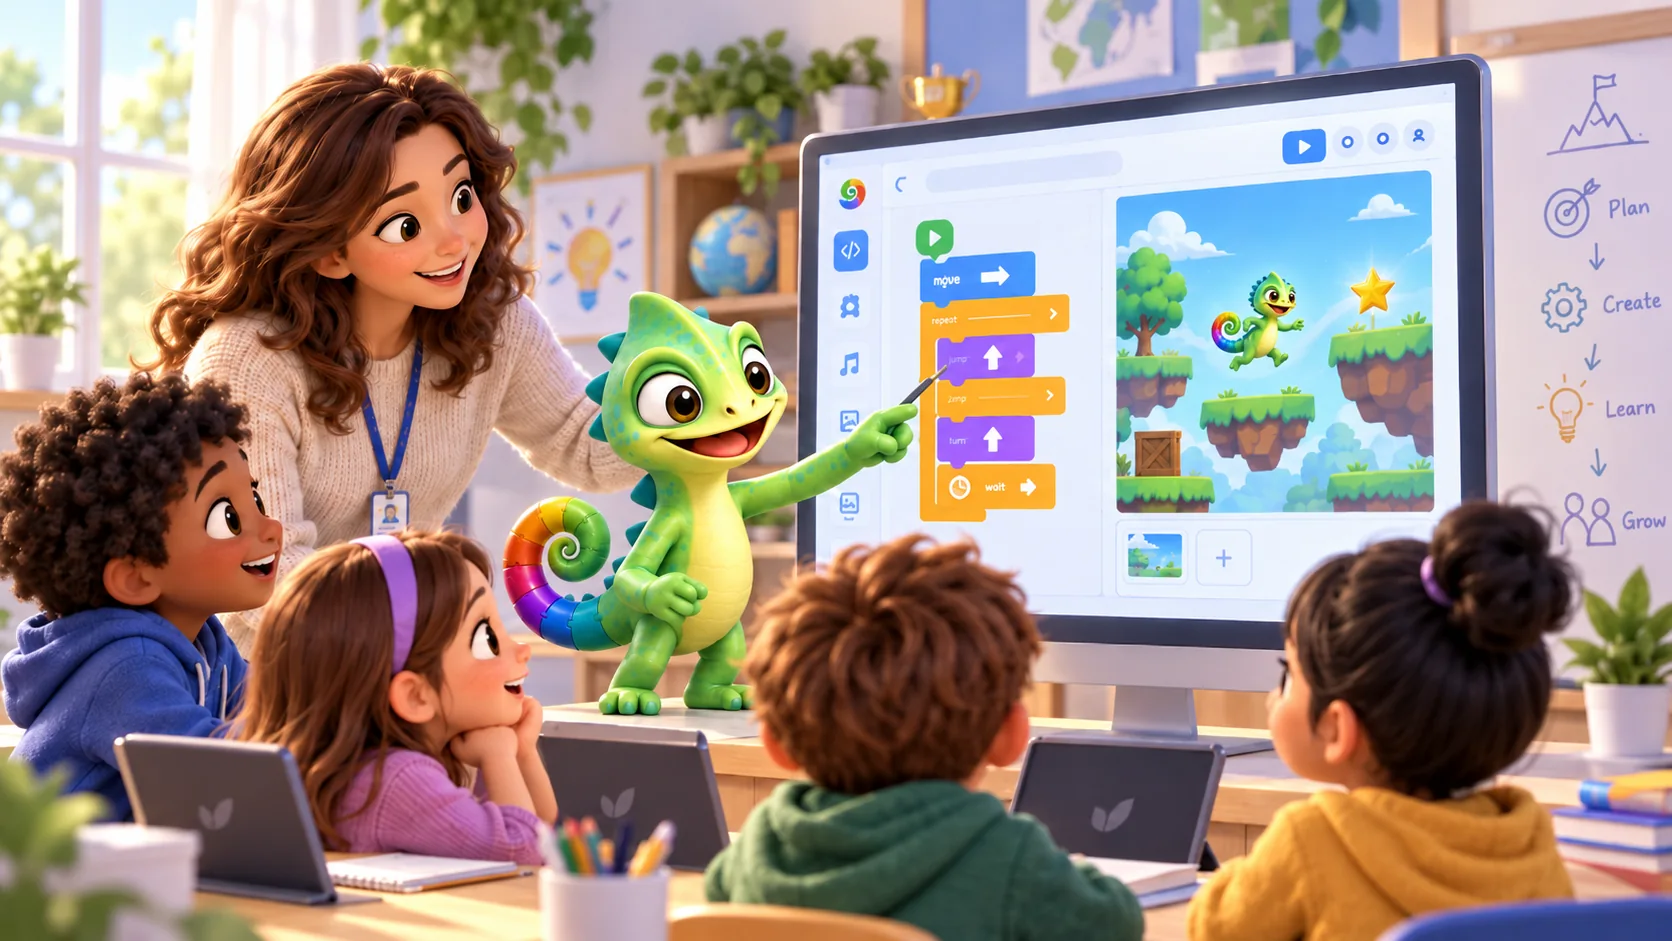
STEM connects subjects through a meaningful challenge. Pupils apply maths, investigate a question and improve a design. Ask them to predict, compare the result and explain their discoveries to a classmate.
STEM stands for Science, Technology, Engineering and Mathematics: exploring questions, understanding tools, designing solutions and working with numbers.
Science
Change one number in a drawing. Predict the result, try it out and explain what you see.
Technology
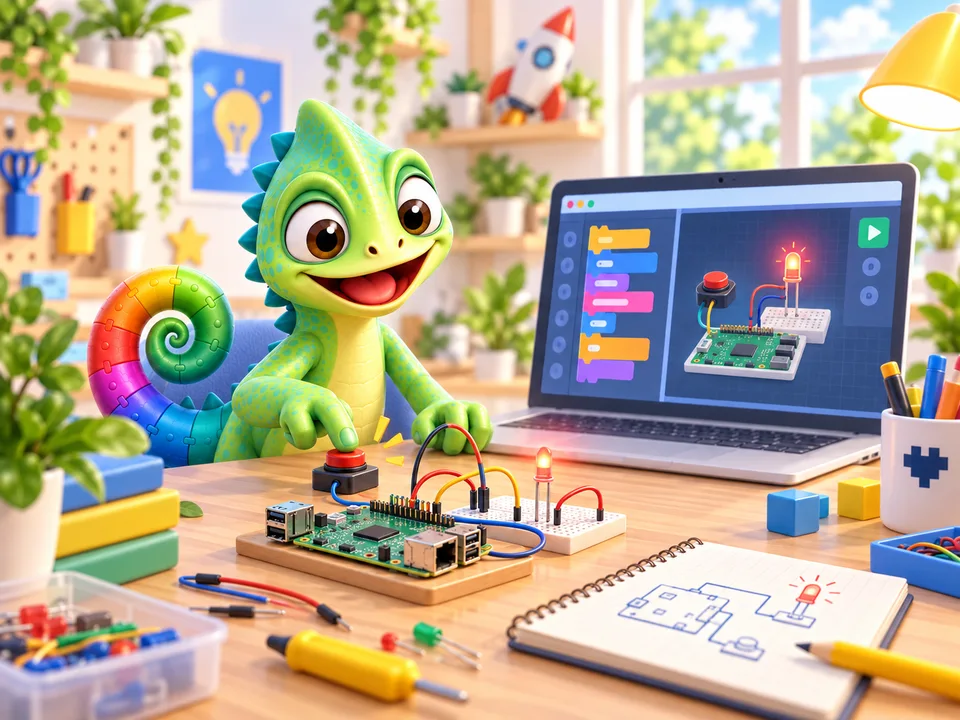
Give the computer instructions with blocks or text. Find the step that makes your drawing move.
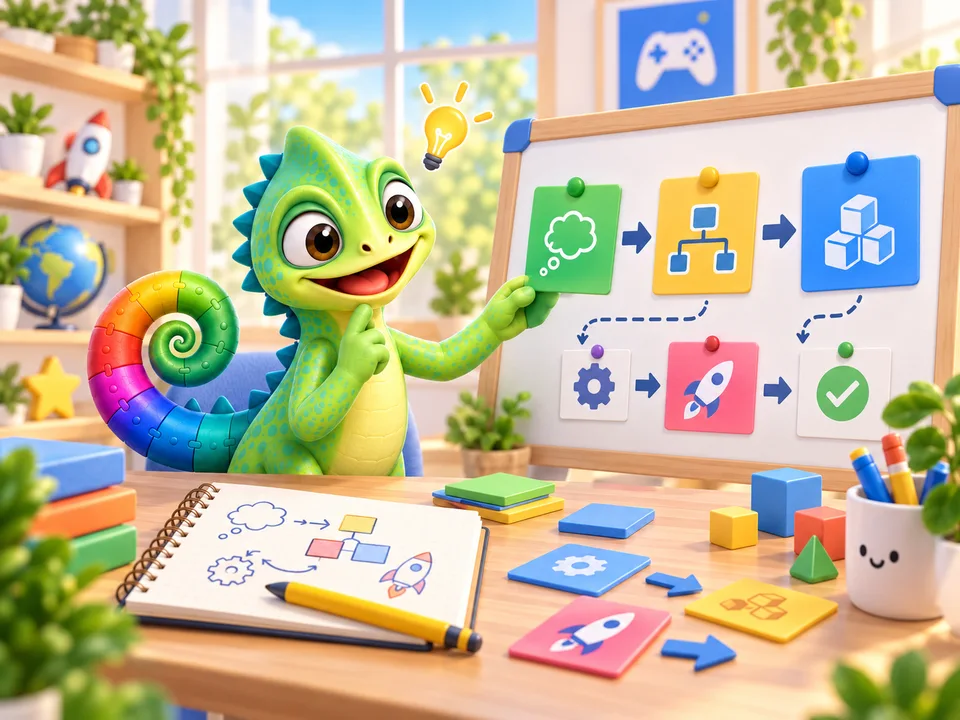
Engineering
Design a route or a game rule, let someone try it and improve one part of your solution.
Mathematics
Explore angles, distances and patterns with the turtle. A square needs a turn of 360 / 4 degrees.
TRY IT TOGETHER
From four sides to six: what needs to happen to the turning angle? Ask your child to predict, draw and compare.
These first STEM projects work with free Learner. Physical projects with lights or sensors need a Raspberry Pi and suitable separate components, with adult guidance.
Background: Council for Science and Technology on STEM education01 / GETTING STARTED
These four lesson ideas begin with a simple drawing and build towards a project pupils can explain. Adjust the pace and support to suit your class or coding club.
| Lesson and idea | What pupils make | What to look for |
|---|---|---|
01 Draw a routePutting instructions in order | A route for the turtle, first on paper and then in code. | Can the pupil predict where the turtle will finish? |
02 Design a patternRepeating steps and exploring shapes | An original shape made from repeated movements and turns. | Can the pupil explain which steps repeat? |
03 Find and fix a mistakeTesting & improving | A corrected program, with an explanation of what went wrong and how they checked it. | Can the pupil choose one change and explain what it did? |
04 Make it your ownDesigning & explaining | An original pattern with a short explanation for a classmate. | Can the pupil point to the instruction that creates part of their pattern? |
Link the activities to maths, art and explaining an idea clearly.
02 / INSIDE THE CLASSROOM
Start with a short example. Give pupils time to predict, discuss and try a change before showing them a solution.
LESSON PLAN / 45 MINUTES
Ask pupils to sketch what they think the instructions will draw.
Start the program. Does the drawing match their prediction?
Read the instructions together. Which steps draw each part?
Change one number and talk about the difference it makes.
Make a pattern of their own and explain one choice to a partner.
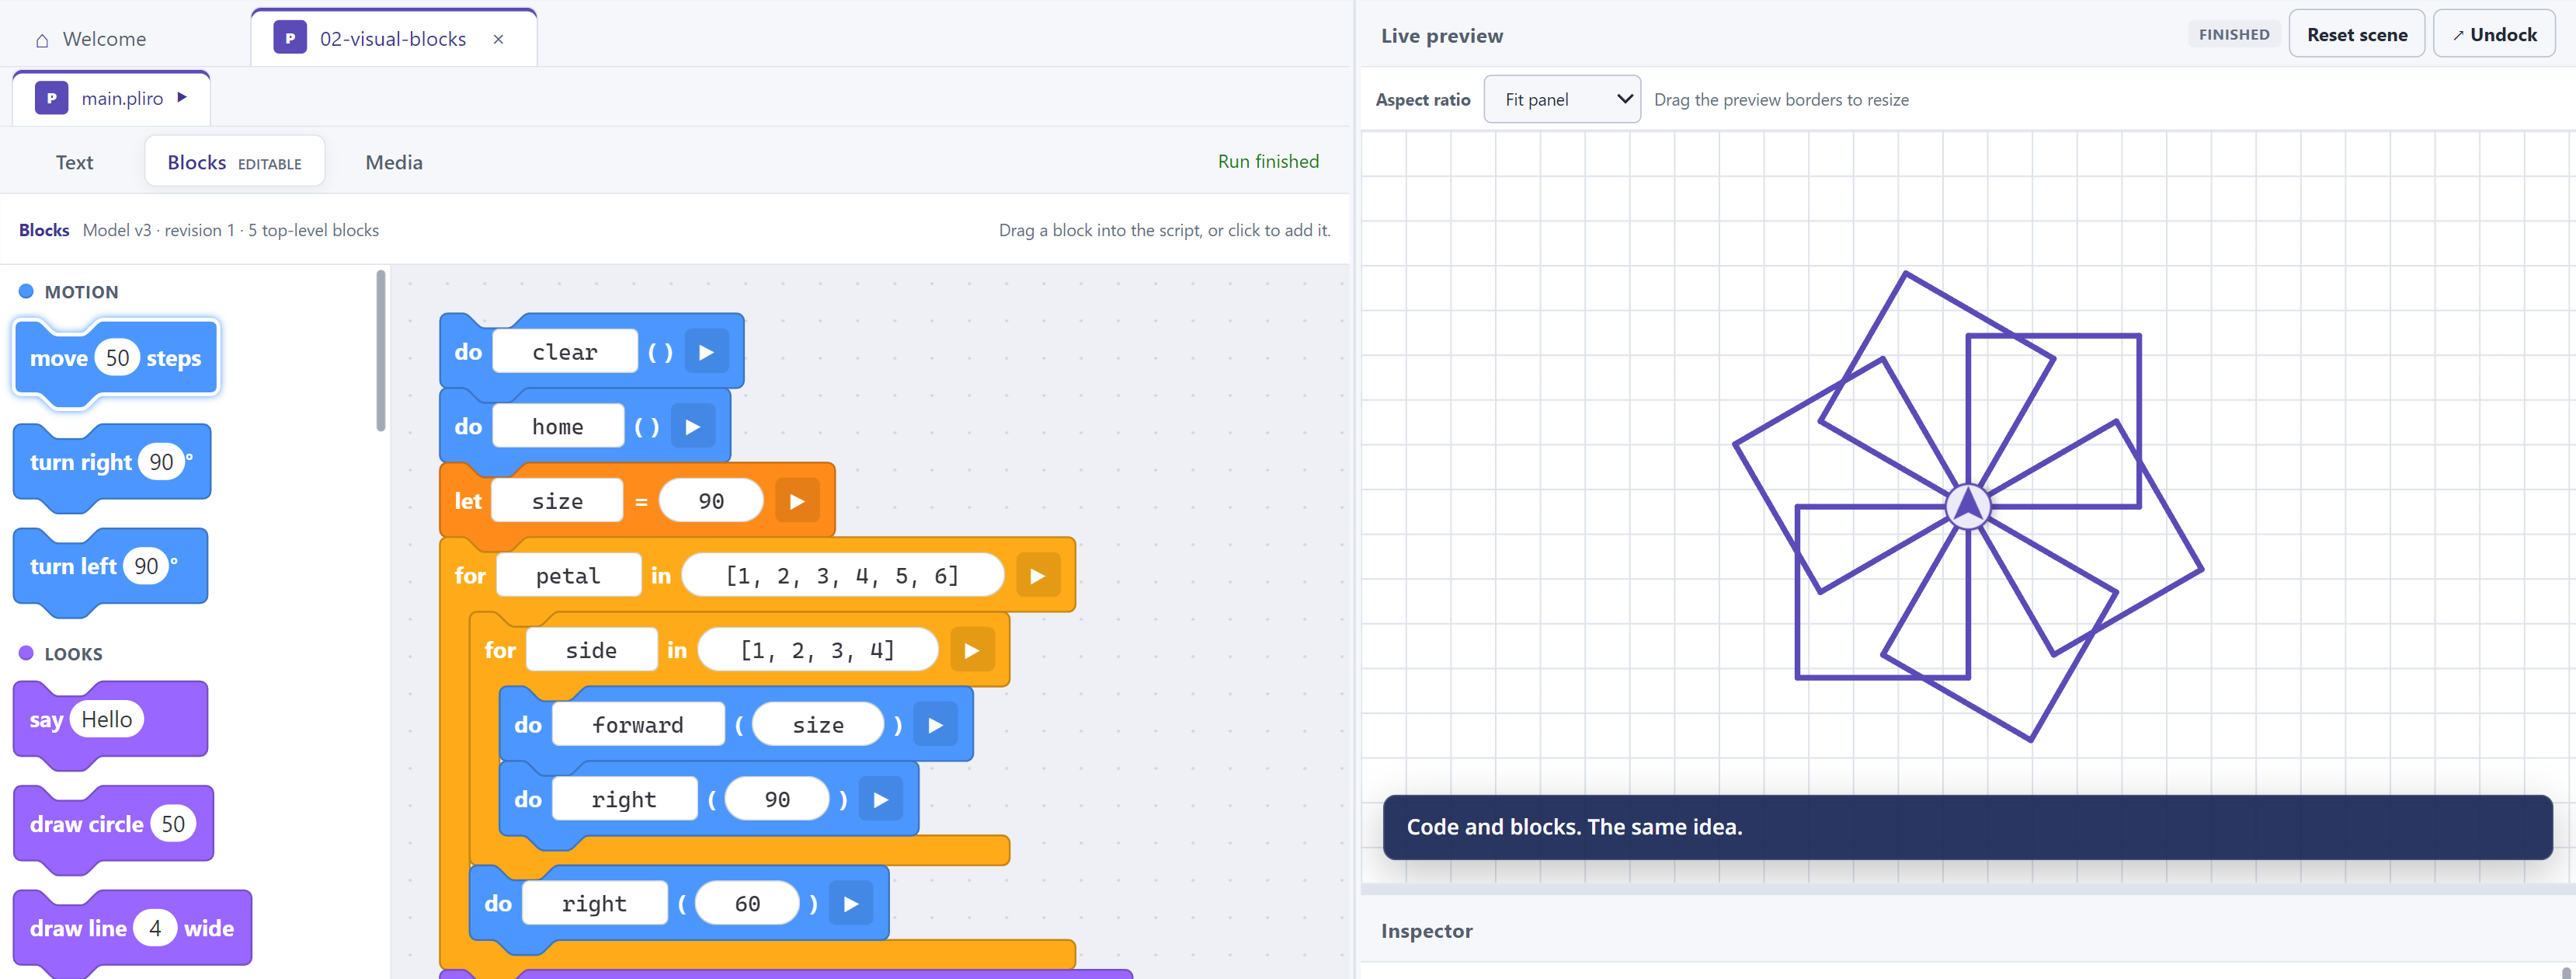
This follows an approach called PRIMM: predict what code will do, run it, investigate it, modify it, then make something of your own. Read the Teach Computing guidance
03 / TEACHING RESOURCES
The original teaching kit is in Dutch. It includes two pupil workbooks and a teacher’s guide for ages 8–12, with four 45-minute lessons. The downloads below open on pliro.nl. For an English activity, use the lesson ideas on this page.
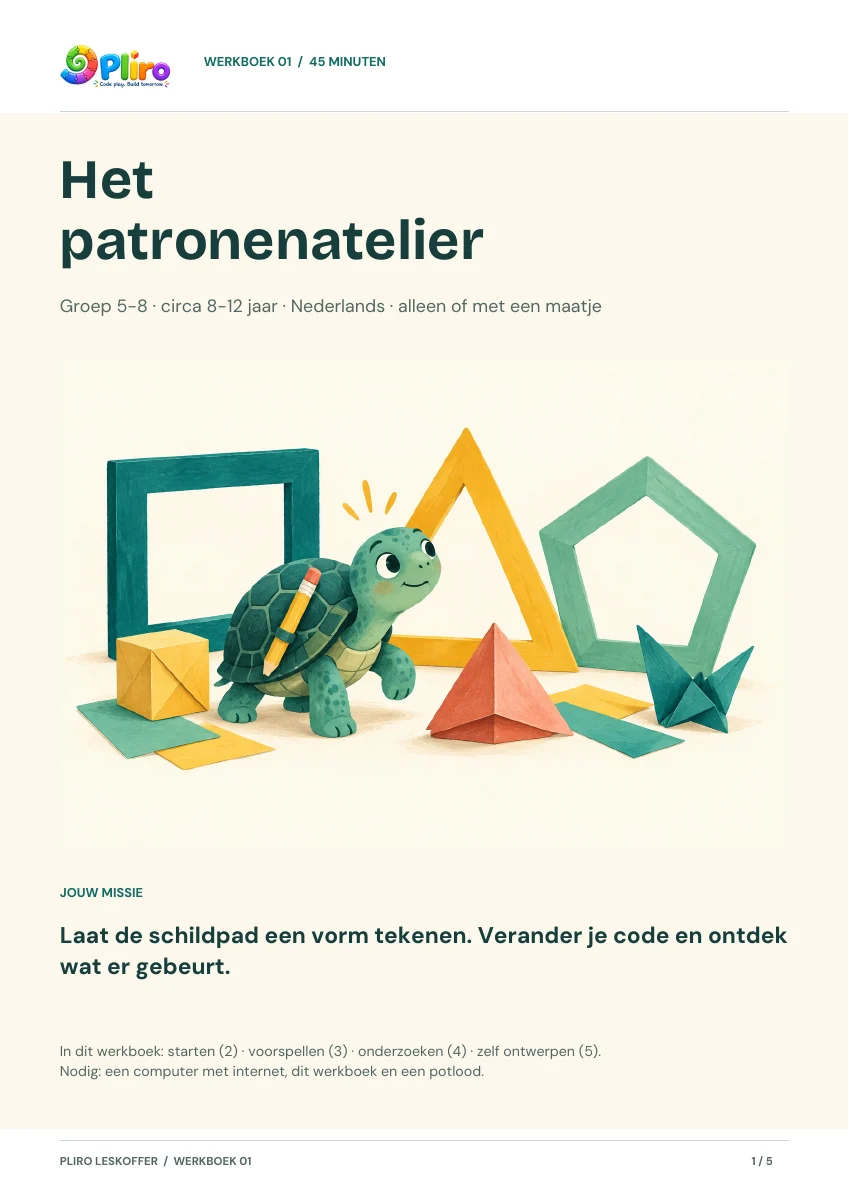 WORKBOOK • 45 MIN
Draw a shape, change the instructions and create a new pattern. Includes drawing grids, spaces to record results and extra challenges.
Download Dutch PDFPDF · A4 · Dutch · 5 pages · 0.6 MB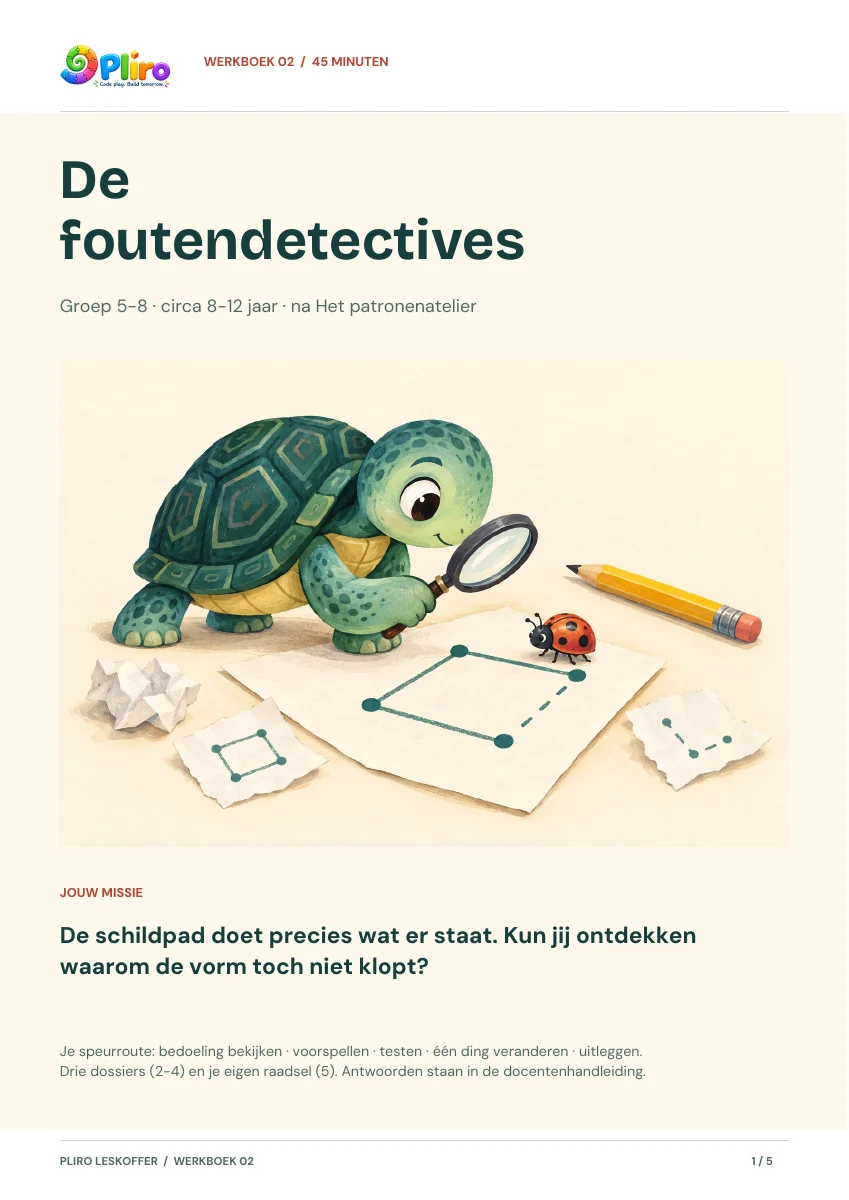 WORKBOOK • 45 MIN
Three coding puzzles with hints and space to record what happens. Pupils try one change and explain what they discover.
Download Dutch PDFPDF · A4 · Dutch · 5 pages · 0.7 MB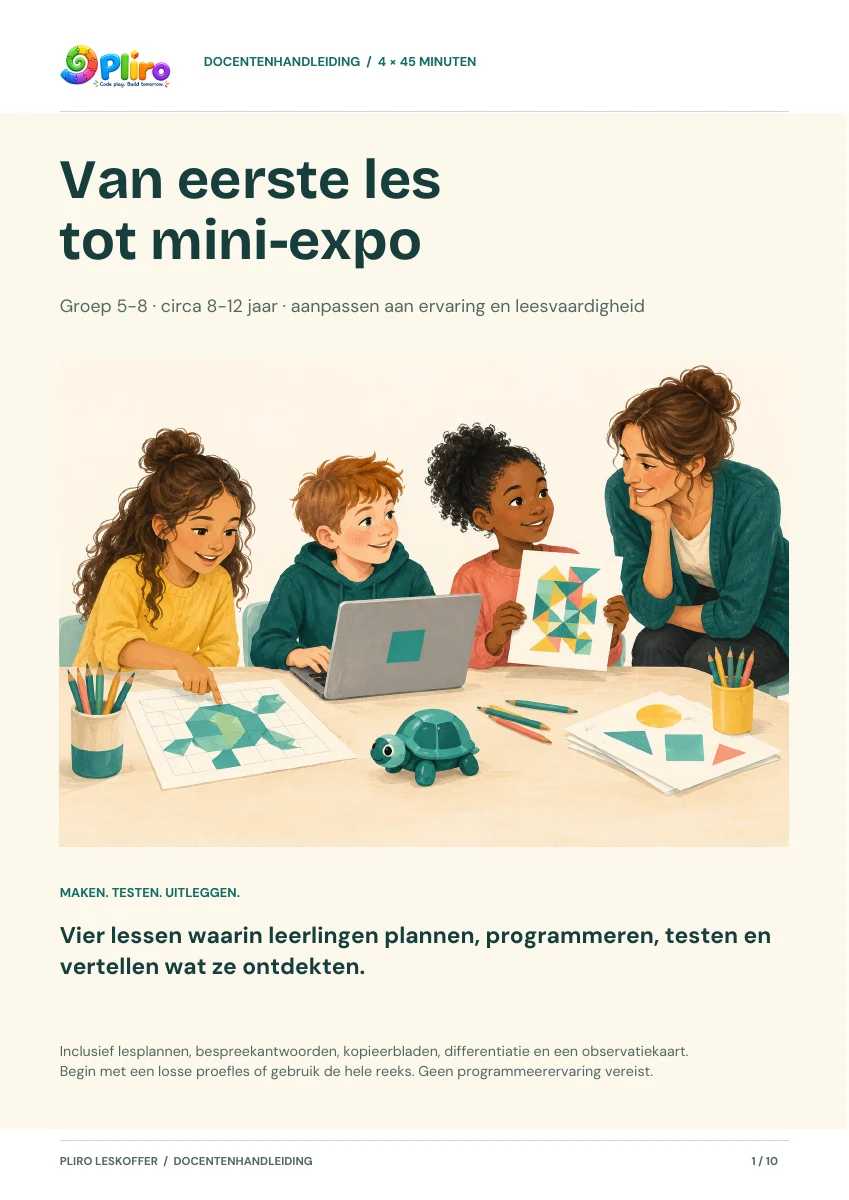 TEACHER’S GUIDE
Four lesson plans with answers, preparation notes and ideas for extra support or challenge. Includes printable activity and observation sheets.
Download Dutch PDFPDF · A4 · Dutch · 10 pages · 0.9 MBHELP EVERY PUPIL TAKE PART
Pupils do not all need to type the same instructions at the same speed. Keep a clear learning goal and adjust the help or challenge.
IDEAS AND GUIDANCE
Find out what children can practise through coding, how to help them and what the research says. Each guide includes an activity to try.
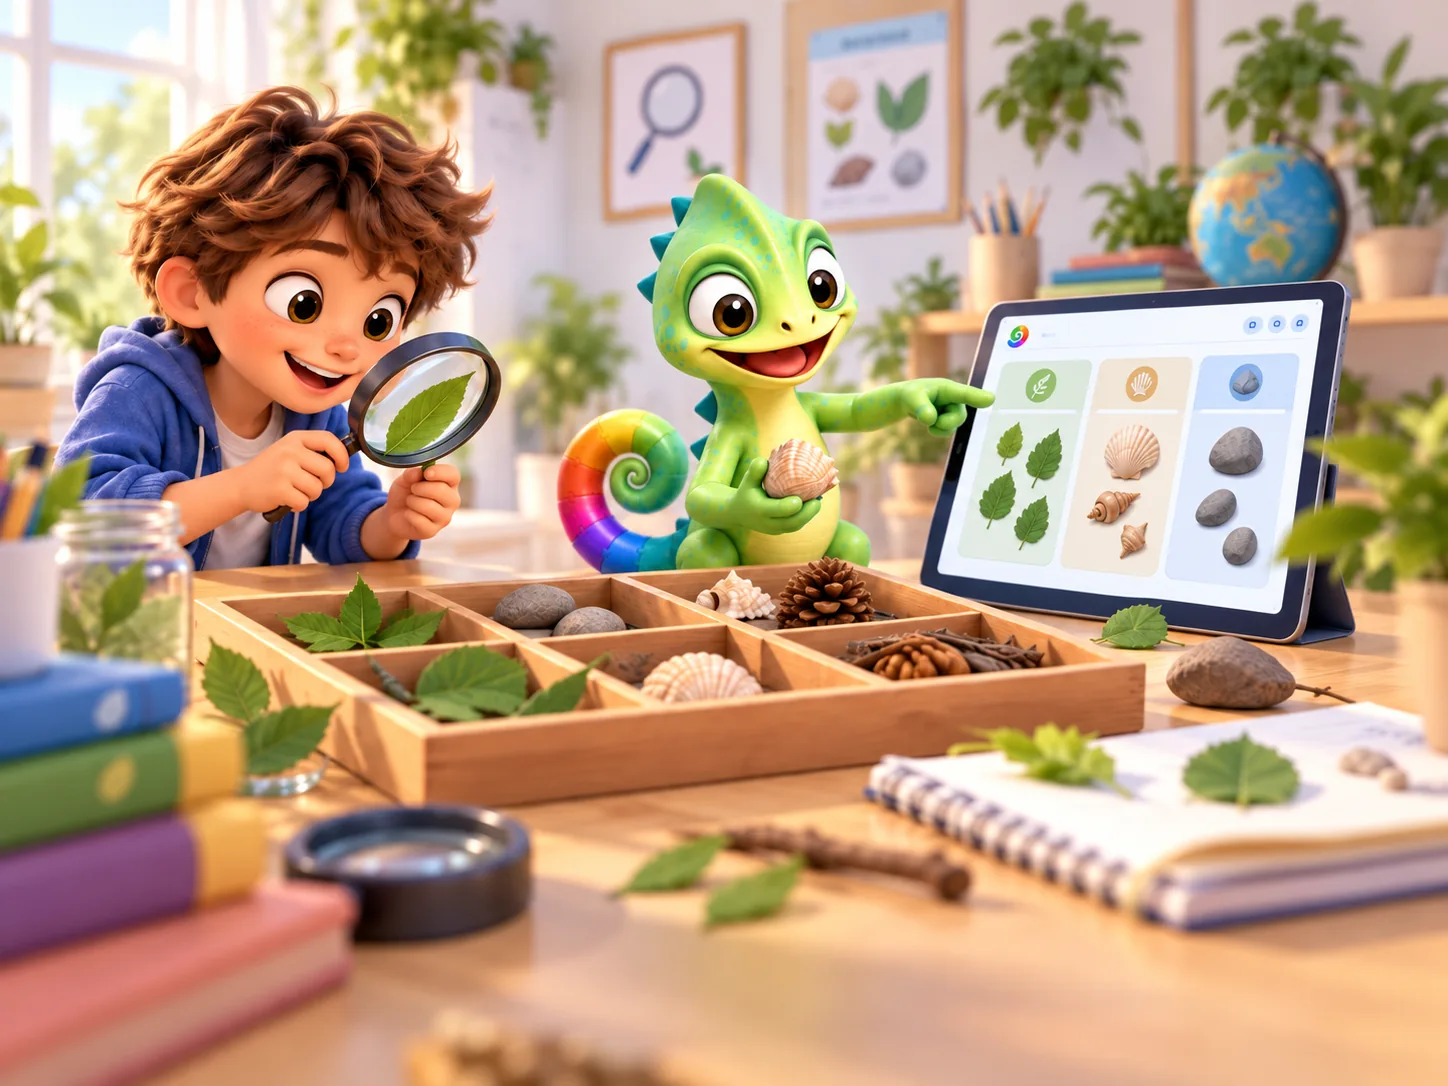
FOR FAMILIES · LEARNING THROUGH CODING
See how coding gives children a chance to solve problems, use their imagination and learn from mistakes. Try a simple activity together.
Read the guide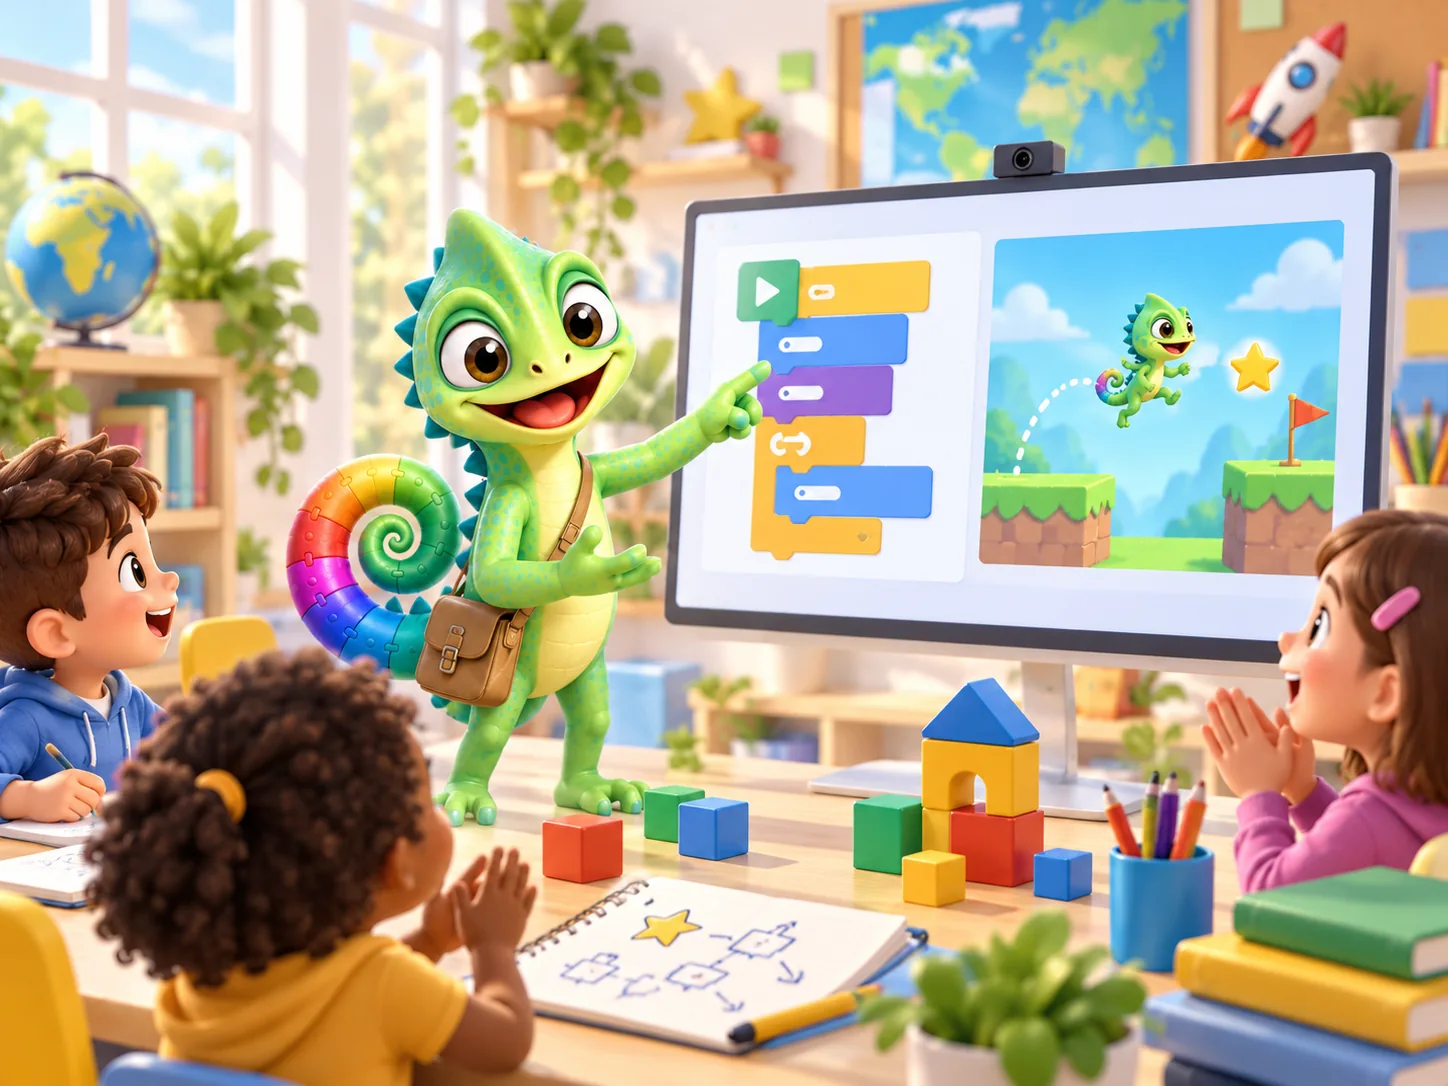
FOR TEACHERS · PLANNING A LESSON
Plan a manageable first coding lesson. Use prediction, discussion and small changes to help pupils understand what their programs do.
Read the guide
FOR FAMILIES & TEACHERS · SKILLS FOR EVERYDAY LIFE
Explore how coding connects with art, music and maths, and gives children a chance to question ideas from computers and AI.
Read the guidePliro Classroom is a paid option for schools, bringing together a teacher licence and pupil places. You can try the basic coding activities with free Learner first.
Start with English instructions, coloured blocks and turtle drawings in Pliro Learner. You do not need to buy Classroom to try the activities on this page.
Pupils can already join a classroom session. Teacher controls, an overview of the class and sharing work are not yet complete. Check the current features and licence terms before buying.
See Logicos for prices and licence terms. Classroom and Creator Pro are separate paid options.